Design is more than just aesthetics; it’s about solving problems and creating value for users. Whether you’re working on a website, app, product, or branding, finding the right design solution is crucial to meeting business goals and delivering a seamless experience. This guide will walk you through a simple, step-by-step process to help you arrive at the best design solution for your needs.
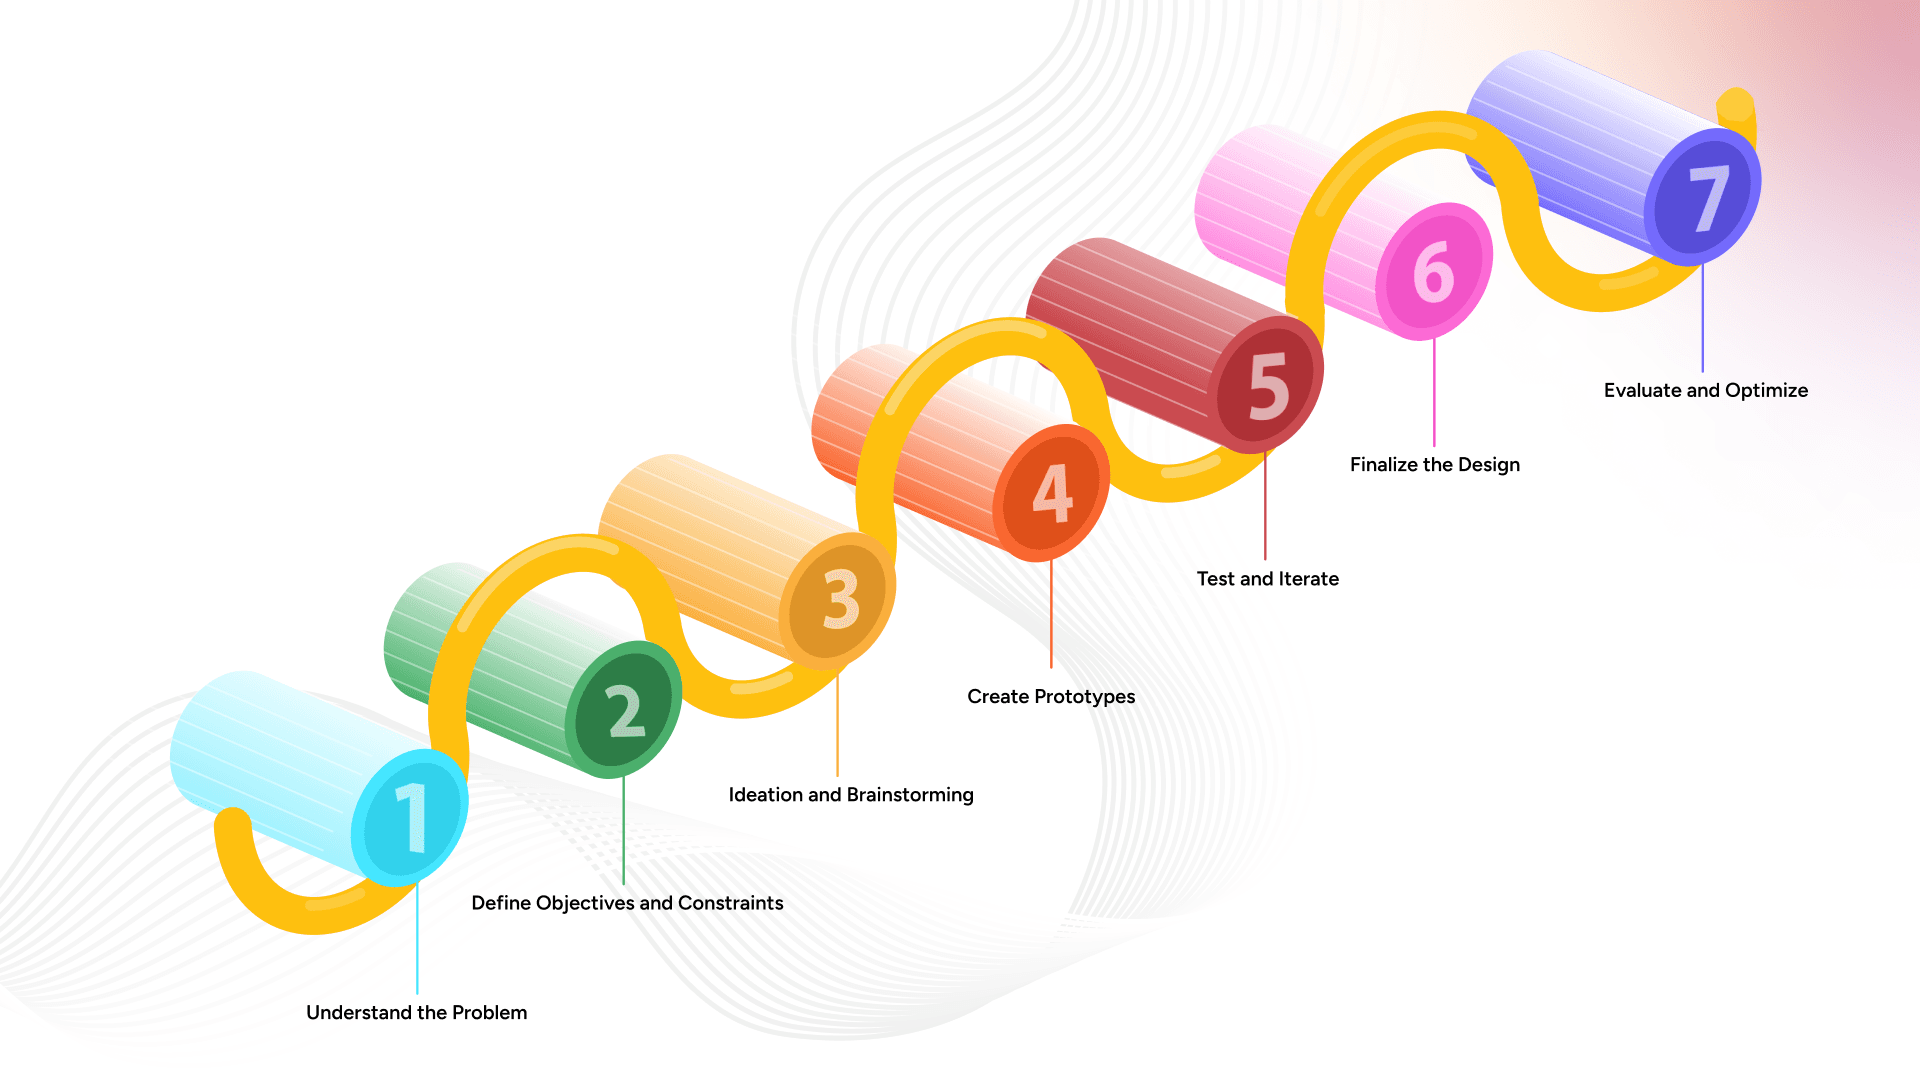
Step 1: Understand the Problem
Every design solution begins with a clear understanding of the problem you’re trying to solve. Without this clarity, your design process can become scattered, resulting in solutions that don’t meet the intended goals.
Ask the Right Questions
- What is the problem or need? Are you redesigning an outdated website, building a brand from scratch, or creating a new product feature?
- Who are the users or customers? Understanding your audience is essential to creating designs that resonate with them.
- What are the business objectives? Ensure that your design aligns with your company’s goals—whether that’s increasing sales, improving user engagement, or building brand awareness.
Research and Insights
Conduct in-depth research to gather insights into the problem. Use techniques like:
- Competitor analysis: Study what others are doing in your industry and identify gaps in their solutions.
- User surveys or interviews: Direct input from users helps identify pain points and preferences.
- Data analytics: For digital products, analyze existing data on user behavior to pinpoint areas of improvement.
Once you’ve gathered all the information, synthesize the findings into a clear problem statement that will guide your design process.
Step 2: Define Objectives and Constraints
After understanding the problem, the next step is to define the objectives and constraints of the project. This ensures that your design is focused, feasible, and aligned with both business and user needs.
Define Objectives
- User needs: Identify what the users are trying to achieve. For example, are they trying to find information quickly or make a purchase easily?
- Business goals: Align the design with key performance indicators (KPIs), such as conversion rates, user engagement, or brand loyalty.
Identify Constraints
Design constraints are the limitations that will affect your solution. These can include:
- Budget: How much money is available for the design project?
- Timeline: When does the design need to be completed?
- Technical limitations: Are there specific tools, platforms, or technologies you need to work with?
- Brand guidelines: If you’re designing for an established brand, ensure consistency with existing logos, color schemes, fonts, and voice.
By defining these parameters upfront, you ensure that your design process stays on track and avoids unnecessary iterations.
Step 3: Ideation and Brainstorming
Once you’ve clearly defined the problem, objectives, and constraints, it’s time to brainstorm potential design solutions. Ideation is about exploring a variety of ideas and approaches before settling on a specific direction.
Brainstorming Techniques
- Mind mapping:
Create a visual representation of ideas, branching out from the core problem to potential solutions.
- Sketching:
Quickly sketch multiple concepts without focusing too much on details. This encourages creative thinking and experimentation.
- Collaborative brainstorming:
Involve team members from different departments, such as marketing, development, and product, to generate diverse ideas.
Evaluate Ideas
After brainstorming, evaluate each idea based on feasibility, alignment with objectives, and how well it addresses user needs. Don’t be afraid to combine the best aspects of different ideas into one solution.
At this stage, quantity matters more than quality. It’s important to generate a broad range of ideas before narrowing down the options.
Step 4: Create Prototypes
Once you’ve settled on a few strong ideas, it’s time to bring them to life through prototypes. Prototypes allow you to visualize how the design solution will work in practice and test its functionality.
Low-Fidelity Prototypes
Start with low-fidelity prototypes, which are quick, rough representations of the design. These can be as simple as hand-drawn sketches or wireframes. The purpose of low-fidelity prototypes is to focus on layout, structure, and overall flow without getting caught up in visual details.
High-Fidelity Prototypes
Once you’ve refined the low-fidelity prototypes, move on to high-fidelity prototypes that include more detailed visuals, colors, and interactions. These prototypes closely resemble the final product and allow for testing of both design and functionality.
Tools for Prototyping
Some popular prototyping tools include:
- Sketch and Figma for designing user interfaces.
- Adobe XD for both design and prototyping.
- InVision for creating interactive, clickable prototypes.
Step 5: Test and Iterate
Testing is a critical part of finding the right design solution. Prototypes allow you to gather feedback from users and stakeholders, ensuring that your design meets the intended goals.
User Testing
Conduct user testing sessions to see how people interact with your design. During testing, pay attention to:
- Usability: Is the design easy to use? Are there any confusing elements or steps?
- Functionality: Does the design help users achieve their goals efficiently?
- Aesthetics: Does the visual design appeal to the target audience?
User feedback can reveal important insights that were overlooked during the ideation and prototyping phases.
Analyze and Refine
Based on the feedback you receive, make necessary revisions to improve the design. This may involve tweaking the layout, modifying certain interactions, or even going back to the brainstorming stage if a fundamental issue is uncovered.
The key here is to iterate —test, refine, and repeat—until you’re confident that the design solution effectively solves the problem.
Step 6: Finalize the Design
Once you’ve tested and refined the design based on feedback, it’s time to finalize the solution. This step involves polishing the visual and functional elements, ensuring consistency, and preparing the design for implementation.
Final Visuals
At this stage, focus on refining details like:
- Typography: Ensure text is legible and consistent across the design.
- Color scheme: Make sure the colors are in line with the brand and evoke the right emotions.
- Spacing and alignment: Create a clean, organized layout that’s easy to navigate.
Documentation and Handoffs
If you’re working with a development team, prepare detailed design documentation to ensure a smooth handoff. This may include:
- Design specs: Outline dimensions, fonts, colors, and other details for developers to follow.
- Interaction details: Explain how certain elements should behave (e.g., buttons, hover states).
- Assets: Provide any necessary design files, images, and icons.
Step 7: Evaluate and Optimize
Even after the design has been implemented, your job isn’t done. Monitor how users interact with the design and gather post-launch data to evaluate its effectiveness.
Key Metrics to Track
Depending on the project, some key performance metrics may include:
- Conversion rates: Are more users completing desired actions (e.g., making purchases, signing up)?
- Engagement metrics: Are users spending more time on the website or interacting with key features?
- Bounce rate: Are users leaving the site quickly, or are they exploring further?
Use this data to identify areas for improvement, and continue to optimize the design for long-term success.
Conclusion
Finding the right design solution is an iterative process that involves understanding the problem, defining clear objectives, brainstorming ideas, prototyping, testing, and refining. By following this simple, step-by-step guide, you can ensure that your design solution is not only aesthetically pleasing but also functional, user-centred, and aligned with business goals. Whether you’re working with a web design company to revamp your website or using graphic design to enhance your branding, this process will help you create effective, problem-solving designs that stand out in today’s competitive market.